Refrigerator Maintenance: A Quick Tune-Up for Your Hardest-Working Appliance
The holidays are behind us, the heart-shaped Valentine’s Day pizza is just a memory, and your fridge has likely seen it all. Now’s the perfect time to show your refrigerator a little love with a simple maintenance routine that takes just 15 minutes twice a year.
Whether you’ve been putting it off or simply don’t know where to start, we’ve got you covered. Follow this step-by-step refrigerator maintenance checklist—and think of the ice cream!
1. Unplug Your Fridge First
Before you do anything else, unplug your refrigerator. It’s a small but important safety step that helps prevent electrical shock as you access both the front and back panels.
Pro tip: If your fridge has an ice-maker or water dispenser, be careful not to tug or disconnect any water lines when unplugging.
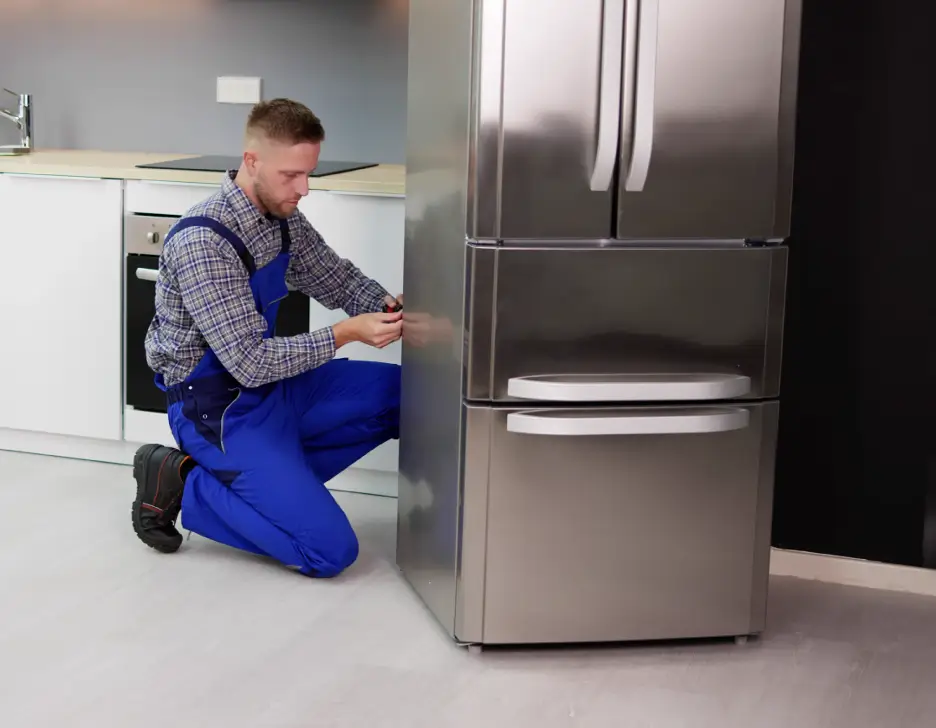
2. Deep Clean the Front and Back Covers
The front kickplate (also called the base grille) and the back panel are dust magnets—but they’re easy to clean.
- Remove the covers by unclipping or unscrewing them.
- Use a dry towel or microfiber cloth to wipe away visible dust.
- For tougher grime or hidden buildup, use your vacuum’s hose attachment.
Behind the fridge, make sure to fully clean around the cooling fan and other components—clear airflow is key to performance.
3. Clean the Refrigerator Coils
Your refrigerator’s coils are responsible for releasing heat. When they’re covered in dirt, your fridge must work harder—and use more energy.
- Use a condenser brush or a dry microfiber cloth to gently clean the coils.
- If they’re tough to reach, try using a vacuum with a brush attachment.
Clean coils = better cooling = lower electric bills.
4. Scrub the Fridge Gasket
That rubber seal lining your fridge door? It’s called a gasket, and it’s what keeps cold air in and warm air out.
- Use vinegar and a toothbrush to clean out crumbs and debris from the folds.
- For a deeper clean, remove the gasket and soak it in hot, soapy water.
- If the seal is cracked or torn, consider replacing it for better efficiency.
5. Check Air Vents for Blockage
Fridge and freezer vents need clear airflow to keep things cold. Check that food or ice buildup isn’t blocking them—especially in the freezer.
Blocked vents force your fridge to work overtime and shorten its lifespan.
6. Set the Right Temperature
The FDA recommends the following settings for optimal safety and efficiency:
- Fridge: At or below 40°F (4°C)
- Freezer: 0°F (-18°C)
Higher temperatures can lead to spoiled food and unpleasant odors—not to mention health risks.
7. Plug It Back In
Once your maintenance is done and your fridge looks (and smells) brand new, don’t forget the final step: Plug it back in! Then sit back and enjoy the feeling of a job well done.
A Fresher, More Efficient Fridge in Just 15 Minutes
That’s it! With just a little effort every 3–6 months, you can improve your fridge’s efficiency, extend its lifespan, and keep your food fresher longer.
Your frozen treats, crisp veggies, and chilled leftovers will thank you.
Click HERE to get a free quote today!