What an unpleasant surprise—you reach for the conveniently automated ice from your refrigerator ice maker, and the ice that comes out is… ick. What gives? Well, a few things could be the culprit.
For one, ice absorbs odor. If you have anything rotting or pungent in your fridge or freezer, that aroma is getting into your ice cubes. Next up is the water filter in your ice maker: If you haven’t changed it in a while (or ever…), it could also be stinking up those ice cubes.
This is why your fridge maintenance should include cleaning your refrigerator’s ice maker. You will need to locate and take care of these smelly culprits as well, or you’ll just end up with more icky ice.
Pro tip: You only need to clean your ice maker once or twice a year for normal water, or a little more often with hard water.

1. Grab the manual & power down
Each freezer has a different ice maker setup, so the manufacturer’s manual can come in handy if you run into any issues removing (or reassembling) parts. If you don’t have the manual anymore, a digital copy can usually be found on the manufacturer’s website. Then just have it open to the ice bin page and keep it handy in case you need it.
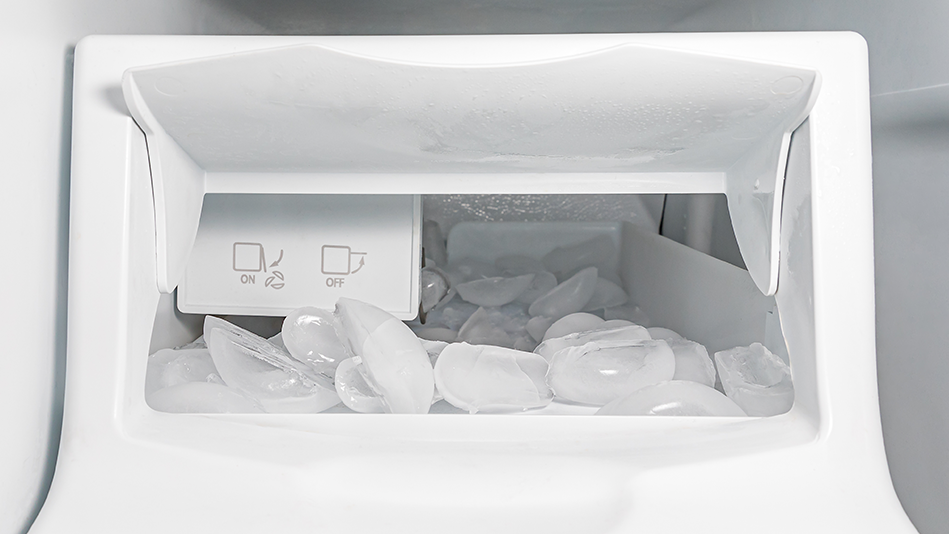
Start by turning off the power to your ice maker. Many ice makers have a bar you can press up or a switch on the side, but your safest best is to unplug the fridge entirely—it’s not safe for your ice maker to be functioning while you clean it. The power shouldn’t be out long enough for your food to spoil, however. If you are concerned, you can transfer your frozen food into a cooler.
2. Remove the bin, plus any freezer ice buildup
The bin may slide out easily, or it may require some unlatching or unscrewing to get it loose—this is where that manufacturer’s manual can come in handy. Once you have the bin out, dispose of any remaining ice cubes and put it in the sink to soak in hot soapy water. If it’s particularly dirty or smelly, you may want to consider scrubbing it with up to half a cup of white vinegar prior to the soak.
If your manufacturer’s manual recommends it, this is a good time to get any other removable parts soaking as well.
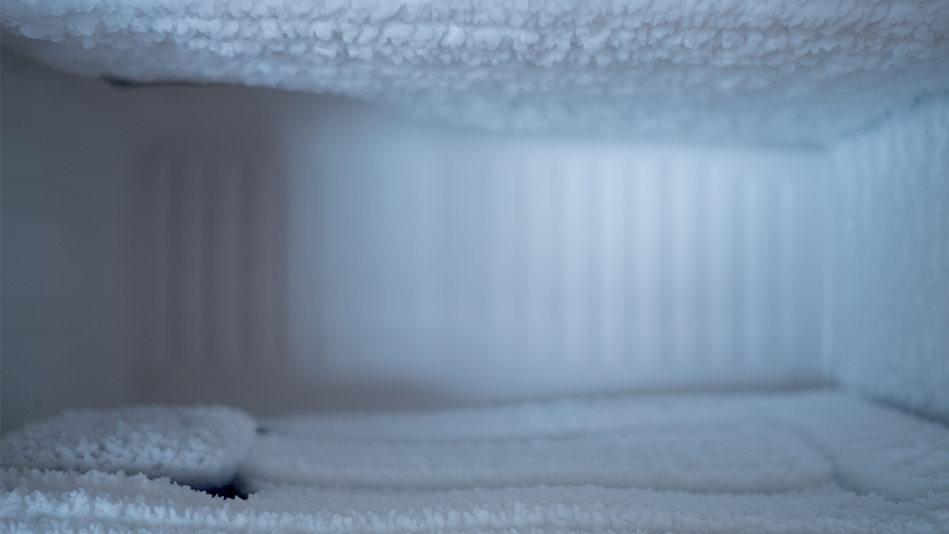
While the pieces are soaking, take advantage of the wait to remove any freezer ice buildup. We recommend pouring a pitcher of hot water over the ice to melt it, catching the overflow with a towel. While this can be messy, it’s faster than defrosting your entire freezer, and safer than going after ice buildup with an ice pick or other implement, which can damage your freezer parts. For smaller areas, try using a cup of hot water.
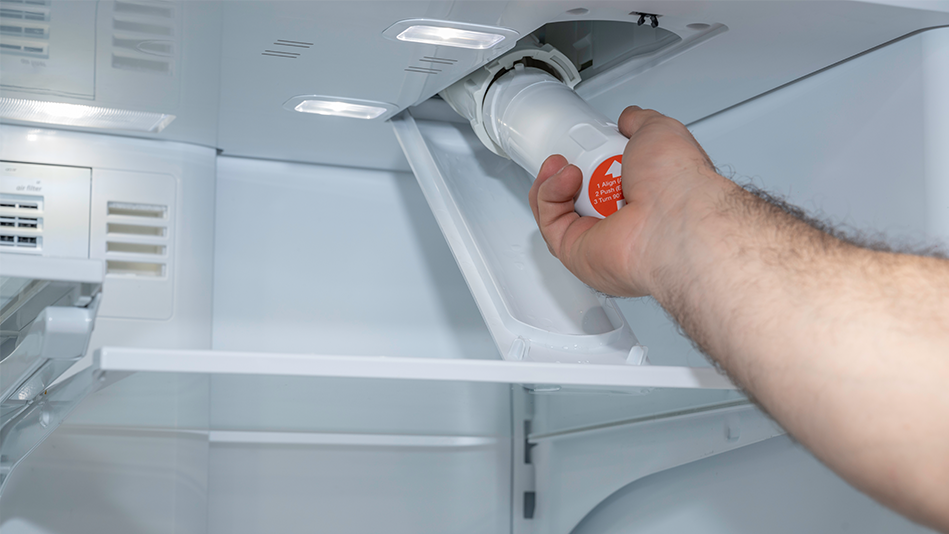
3. Check the filter & clean the parts
Locating the water filter in your fridge may be easier with your manufacturer’s manual, though the filters are often easily accessible. Once you’ve found and cleaned or replaced your water filter, it’s time to clean up the rest of the ice machine.
Wipe down the parts remaining in the freezer with a soapy rag or sponge, a vinegar mixture, or a light bleach mixture (if you’re looking to disinfect). An unused toothbrush may come in handy to get into some of the smaller parts, like inside the ice mold or to scrub away any scaly water deposits.
Important: Make sure you thoroughly dry every part that you clean, to prevent frost from causing cracks in the assembly.
Once you’re done with the items still in the freezer, finish up with the parts you left to soak—once again ensuring you dry everything thoroughly.
4. Reinstall the parts, restore power, & test the ice
Carefully reinstall any pieces you removed from the assembly (including the ice bin), then restore power to refrigerator. And finally, run it through three or four cycles, disposing of the ice each time to clear out any remaining cleaning solution. Then all that’s left is to enjoy your clean and refreshing ice!
P.S. In case your fridge or freezer ever do break down, make sure you know ahead of time where you might be able to get some help to pay for repairs or replacement.
Visit us on Facebook, LinkedIn, Twitter or Instagram to tell us your thoughts!