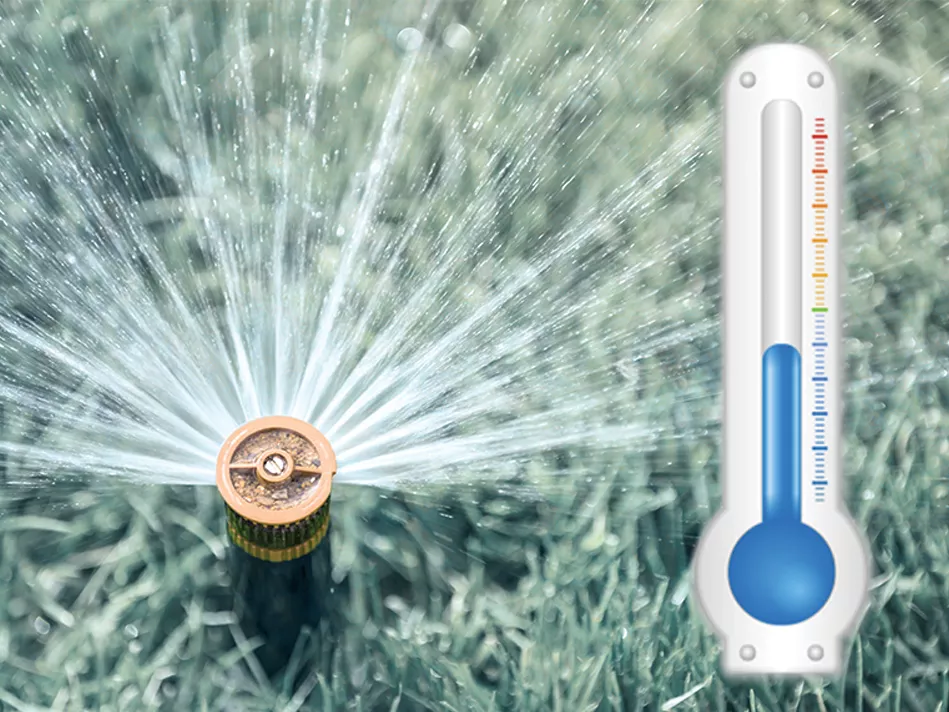
Many of us are experiencing the changing of seasons. If you live in an area with winter temperatures that are near or below freezing, now is the time to make sure your sprinkler system is prepared. Keep reading to learn our helpful tips on winterizing, a vital part of sprinkler system maintenance.
Prepare your lawn early
To maintain good grass health, begin decreasing the amount of water you give your lawn a couple weeks before winterizing it. Before starting the process, check your owner’s manual and determine what your sprinkler system needs to be best prepared for the cold weather ahead.
Shut off the sprinkler system water supply
The main goal of winterizing your sprinkler system is to remove all the water in order to prevent damage caused by freezing temperatures, which could be costly.
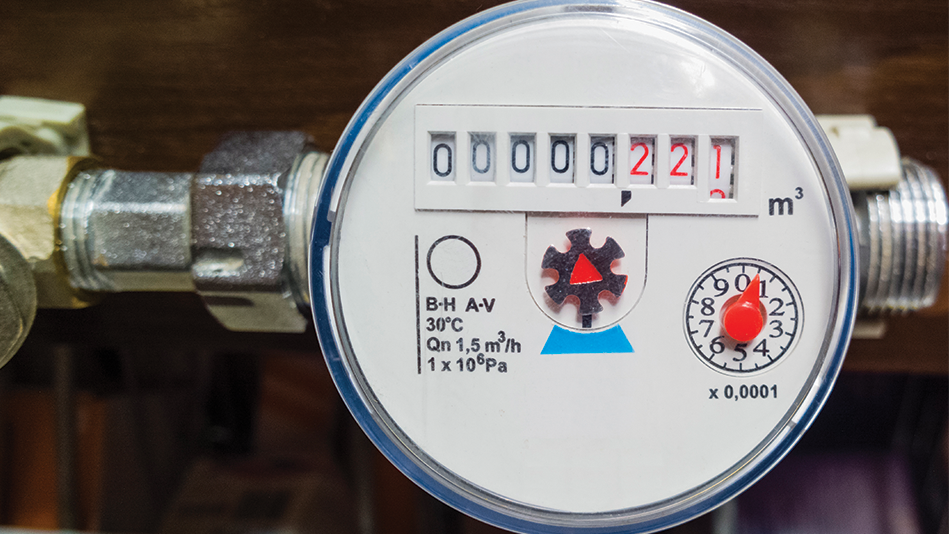
The first step is to shut off your main water supply, which is typically located by your water meter. If you have an automatic timer, be sure to turn it off or set it to “rain mode”, which is essentially a low-power mode that shouldn’t delete your existing settings.
Drain out all the water
Drainage is the most crucial (and most time-consuming) part of the winterizing process. Your steps will vary according to the type of valve or method you use.
Manual drain valve
If your sprinkler system has manual drain valves, it likely has a backflow preventer. Disable the backflow preventer by moving both shut-off handles clockwise for one-quarter to one-half of a turn.
To drain the valve, put on some protective goggles (safety first!) and locate the valve at a low point along the system’s mainline. Your goggles should protect you from any pressurized water that may be released before the valve has been fully depressurized.
Put the mainline shut-off valve in the “off” position, then slowly open each manual drain valve, one by one, to allow for complete drainage. When all the water has been emptied, close all your manual drain valves.
Automatic drain valve
An easy way to set off your automatic drain valve is to turn on a sprinkler head while the water is turned off. To push out the last of the water, loosen the solenoid inside it to allow air to flow into the system; this should cause complete water drainage from every zone along the system’s mainline.
Regardless of which type of drain valve you have, your next step is to fully shut off the local water supply. Check for a “stop and waste” valve or a boiler drain valve, and open it to let that pipe fully drain as well.
Air compressor blowout
Another way to remove all traces of water is to hook your system up to an air compressor to blast out any remaining water. This option is usually better left to the professionals, as you‘ll want to avoid causing any damage while you get all the water out of your sprinkler system.
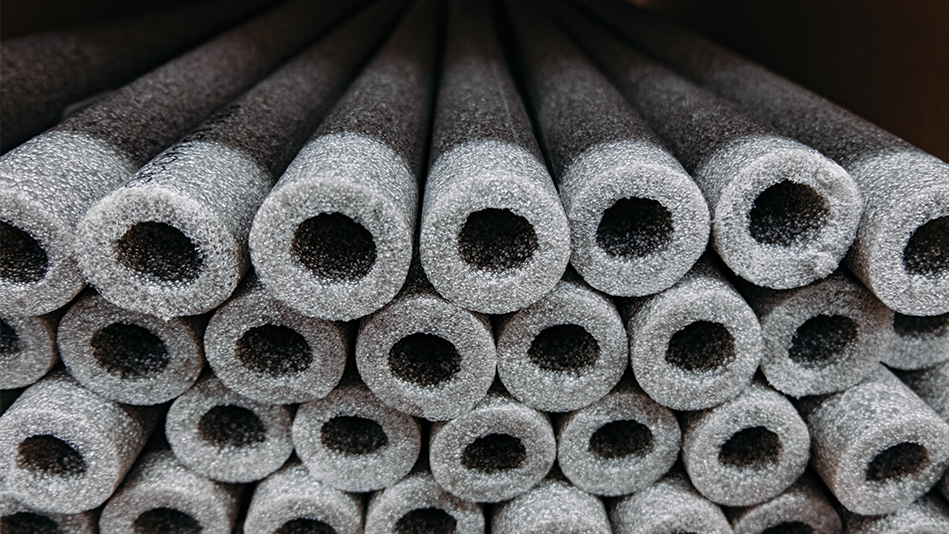
Above ground? Keep it under cover.
There are various above-ground parts of your sprinkler system that need protection from winter weather. Protect your backflow preventer, main shut-off valve, faucet, and pipes from the elements with items such as the following:
- Insulated polyester
- Foam pipe covers
- Insulation tape
Pro Tip: Make sure your backflow preventer’s drain outlets and air vents are not blocked.
Now that you've taken these steps, your sprinkler system is ready for winter hibernation! How do you get ready for winter? Let us know on Facebook or Instagram!