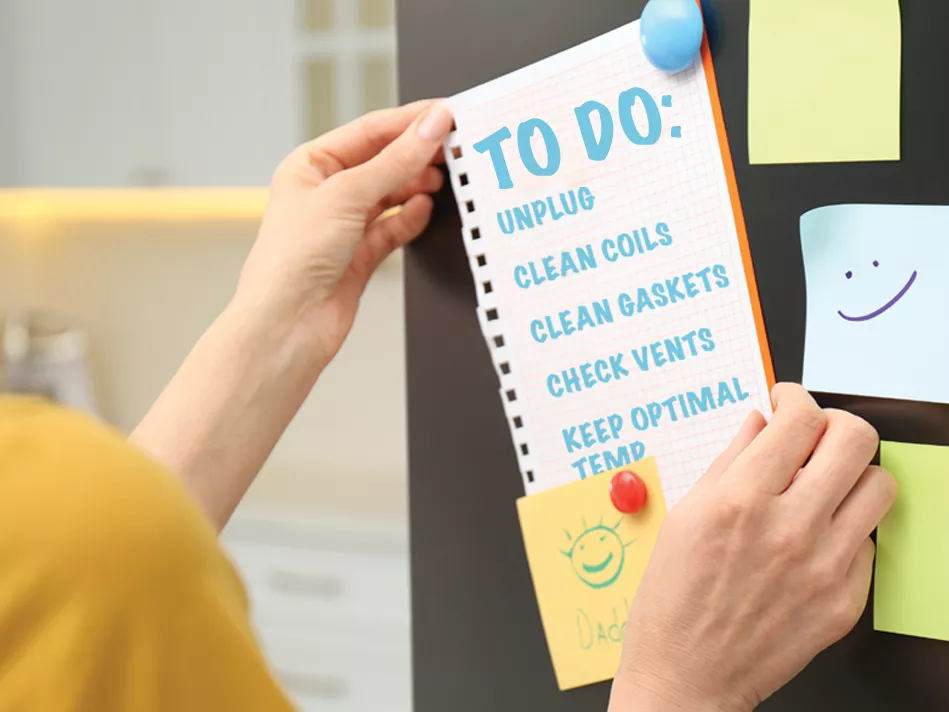
The holidays are in our rearview mirror, and all the slices of the heart-shaped pizza from Valentine’s Day have been eaten. Now is the perfect time to give a little love to the appliance that keeps your deli meat cold and your popsicles colder with our refrigerator maintenance checklist.
All it takes is 15 minutes twice a year to keep your fridge in tiptop shape. If you’ve been putting off refrigerator maintenance or don’t know where to start, read on—and think of the ice cream!
1) Unplug your fridge
Before doing anything else, take a moment to unplug your fridge. This small step for fridge safety will reduce your risk of being electrocuted as you access the front and back panels, which is the final stop for a lot of dirt and dust. If you have an icemaker or water dispenser, be careful not to disconnect the water lines as you unplug.
2) Remove the front and back covers to deep clean your refrigerator
This part of refrigerator maintenance is often overlooked, but well worth the short time it takes to complete.
The front cover, often called the kickplate or the base grille, sits just underneath your fridge door. Once you have removed it by unclipping or unscrewing it, use a dry towel or microfiber cloth to clean the dust behind it. You can also use your vacuum’s hose attachment to suck up any dust bunnies that may have been hiding.
Go behind your fridge to clean out the back. After taking off your refrigerator’s back cover, repeat the same process and above, ensuring you fully remove debris from the cooling fan and all other pieces in this compartment to allow for better airflow.
3) Clean your refrigerator coils
Refrigerator coils push heat out of your fridge to keep your food cool. If dust and dirt build up around them, your fridge must work harder to push heat out efficiently. This causes it to use more power, which can cost you more money just to keep your fridge running.
To clean your refrigerator coils,. If they’re hidden under a layer of dirt or dust, try wiping them down with a condenser brush or a dry microfiber cloth.
4) Clean your fridge gasket
The fridge gasket is the rubber seal on the inside of the fridge door. This fridge door seal ensures the cold air stays in and the warm air stays out. Gaskets have creases in them where scraps of food and other debris can accumulate. Fortunately, you can clean out the folds with some vinegar and a toothbrush.
If it’s been a while and you want to give your gaskets a deep clean, you can remove them, fill your sink with hot, soapy water, and give them a good scrubbing with a damp cloth. Gaskets are replaceable, so if yours look torn or past the point of recovery, consider buying a new one.
5) Check your fridge vents
Check your fridge and freezer vents to ensure they have enough room to circulate. This is especially true for freezers, where frozen food and ice buildup can block airflow, which makes your fridge work harder and ultimately affects its efficiency and lifespan.
6) Keep an optimal refrigerator temp
The FDA states that the ideal fridge temperature is at or below 40 degrees (4 degrees Celsius), while your freezer should be set to 0 degrees (-18 degrees Celsius) to prevent food spoilage. Not only can higher temperatures be a danger to your health, they can contribute to food waste and a dirtier fridge..
7) Plug in your fridge again
After everything is back together and your fridge is looking new again, make sure to plug your fridge back in so you don’t waste all your hard work and all that delicious food!
Congratulations! You’ve successfully completed refrigerator maintenance. For best results, repeat this process every 3-6 months. Now you can rest easy knowing that your fridge runs more efficiently and smells much fresher, giving you better use out of your refrigerator for years to come.

