Have you ever heard of a roof rake? It’s the easiest way to get loads of heavy snow off your roof and prevent ice damming, which can strain and damage your roof over time. But using a roof rake comes with some warnings. Keep reading to discover tips on how to use a roof rake safely to save your budget from roof repair costs.
What is an ice dam?
When you drive by a neighborhood and all the roofs have a thin, pretty layer of snow on them, there’s a good chance their attics are properly insulated and ventilated. Homes lacking in proper insulation and ventilation allow the heat from the house to escape through the roof, melting off the snow in patches.
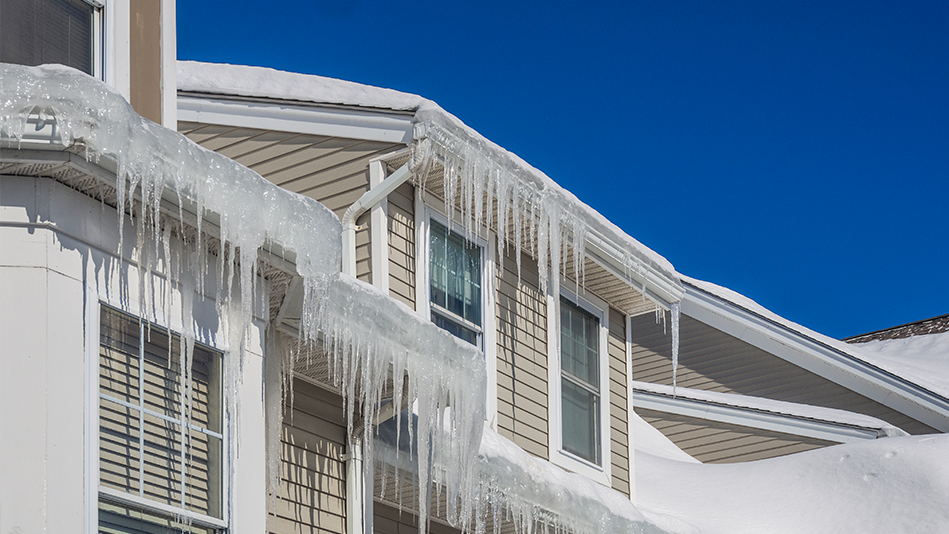
As the snow melts on warm patches of roof, the water drips down and refreezes as it reaches the colder eaves, eventually building up into an ice dam—typically seen as groupings of icicles on the edge of a roof. This literally acts like a dam, preventing further melt-off from leaving the roof and creating sitting water, which can seep underneath your shingles and into your home, causing water damage.
The best ice dam prevention is to keep deep snow from piling up near the edges of your roof—and a roof rake is how to best get snow off your roof.
What is a roof rake, and how do I use it safely?
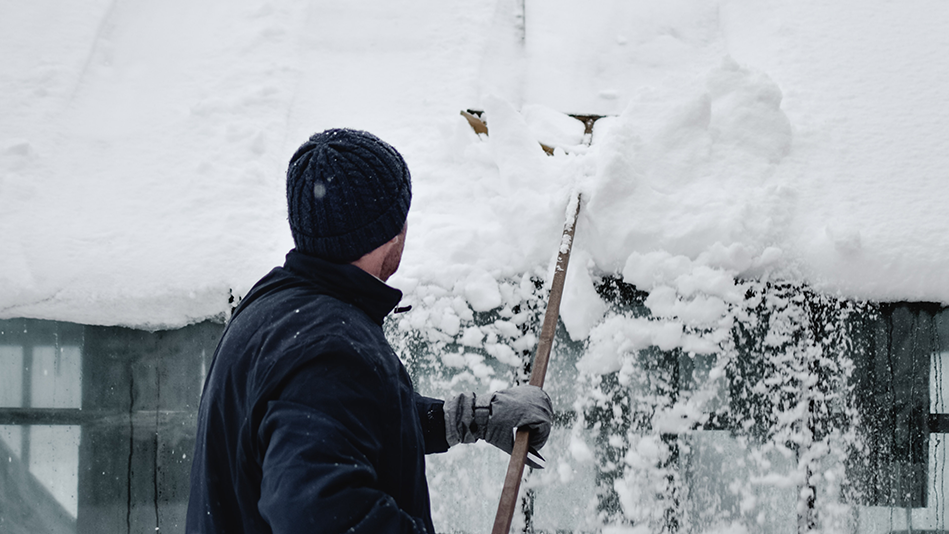
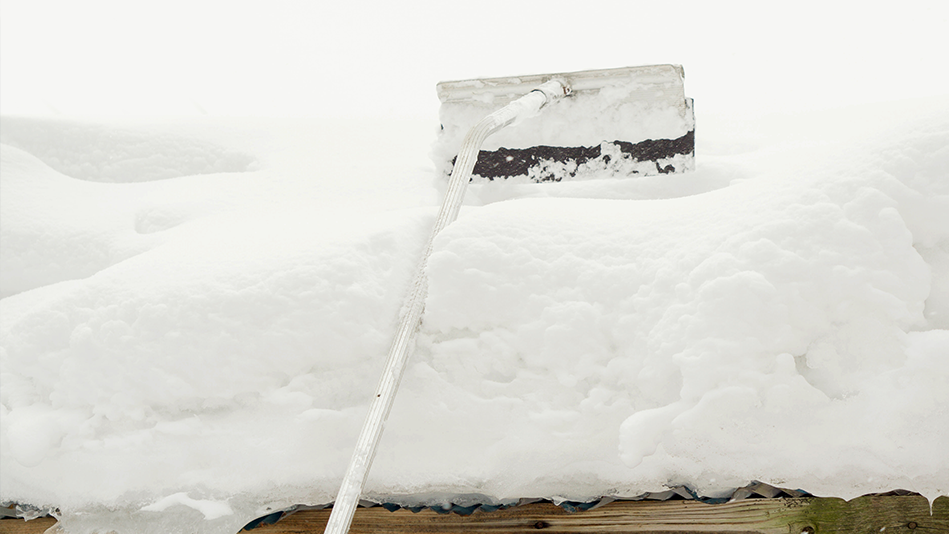
A roof rake looks a bit like a garden hoe, except that it’s mounted on a much longer, telescoping pole for reaching the roof of a one-story home from the ground. It’s designed for the gentle removal of snow by either pushing or pulling it off your roof—but there are a few things you should keep in mind.
Inspect your roof before it snows
Catch a wonky shingle or a loose gutter with that snow rake, and you’re worse off than before you tried to remove the snow. It’s far too dangerous to get up there after the snow falls (slippery ladders are an ER visit waiting to happen). So it’s important that you inspect your roof before the first frost (sometime in the fall), so you can find and complete any necessary repairs.
If you are unfortunate enough to catch or break something after it snows, do not try to get up there and fix it yourself: Hire a professional.
Watch out for avalanches and icicles
If you pull snow from above, it’s going to fall toward you. While fluffier snow might not be terrible to get hit with, heavier snow (or worse, icicles and more) can do some serious damage on the way down. Wearing thick gloves, some safety goggles, and a hard hat is always a good idea. If you’ve got some prized rosebushes or shrubbery beneath those eaves, you may want to try and protect them as well.
Power lines are a big no-no
Long metal stick + power lines = zapped human. It may sound funny, but the ER visit won’t be. Make sure you know where the power comes into your household, and steer clear of it with your roof rake.
How to use a roof rake on pitched roofs
- You’ll want to get out your roof rake after every six inches of snow. The more snow that accumulates up there, the more difficult the job will be, and the higher your risk of ice dams and roof damage.
- Make sure you use the real deal. Roof rakes are specially designed for the job to avoid damaging your roof, and are available at most local hardware stores.
- Do not climb up a ladder. As we mentioned before, this is highly dangerous when it is cold and icy out. A roof rake is designed for use from the ground, and if you cannot reach your roof from there, you should hire a professional.
- Start at the edges of the roof and work your way up (5 to 6 feet from the edge). Do not press down hard as you pull back: The idea here is to reduce the depth of the snow on your roof to two or three inches, not to scrape your roof clean.
- Be careful not to rip off your gutters and drains, and be sure to clear the areas around the bottoms of downspouts at ground level once you’re done—you don’t want standing water to freeze and burst your downspouts either.
What if an ice dam has already developed on my roof?
Here are a few things not to do:
- Do not use rock salt to melt the ice. The salt can damage your roof and surrounding shrubbery.
- Do not use any kind of heating device (hair dryers, heat guns, etc.) to remove ice and snow. This especially applies to open flame devices—yeah, we see your flame thrower. Put it away.
- Do not try to break through the ice with tools like hammers or chisels, which can damage your roof.
Here is what you can do:
- Rake the roof first. This helps to remove the source of standing water, which is the melting snow.
- Depending on the air temperature, you may be able to use a stocking of calcium chloride to melt a channel, allowing excess water to run off the roof.
- When all else fails, hire a professional to remove the ice with steam. This can be expensive (upwards of $500/hour), which is why we recommend doing everything you can to avoid ice dams in the first place.
Home systems break. Budgets shouldn’t. Discover what kind of coverage America’s Preferred Home Warranty (APHW) can provide to protect your budget against unexpected home system and appliance failures, or call 866.462.9957 today for more information.
Visit us on Facebook, LinkedIn, Twitter or Instagram to tell us your thoughts!


